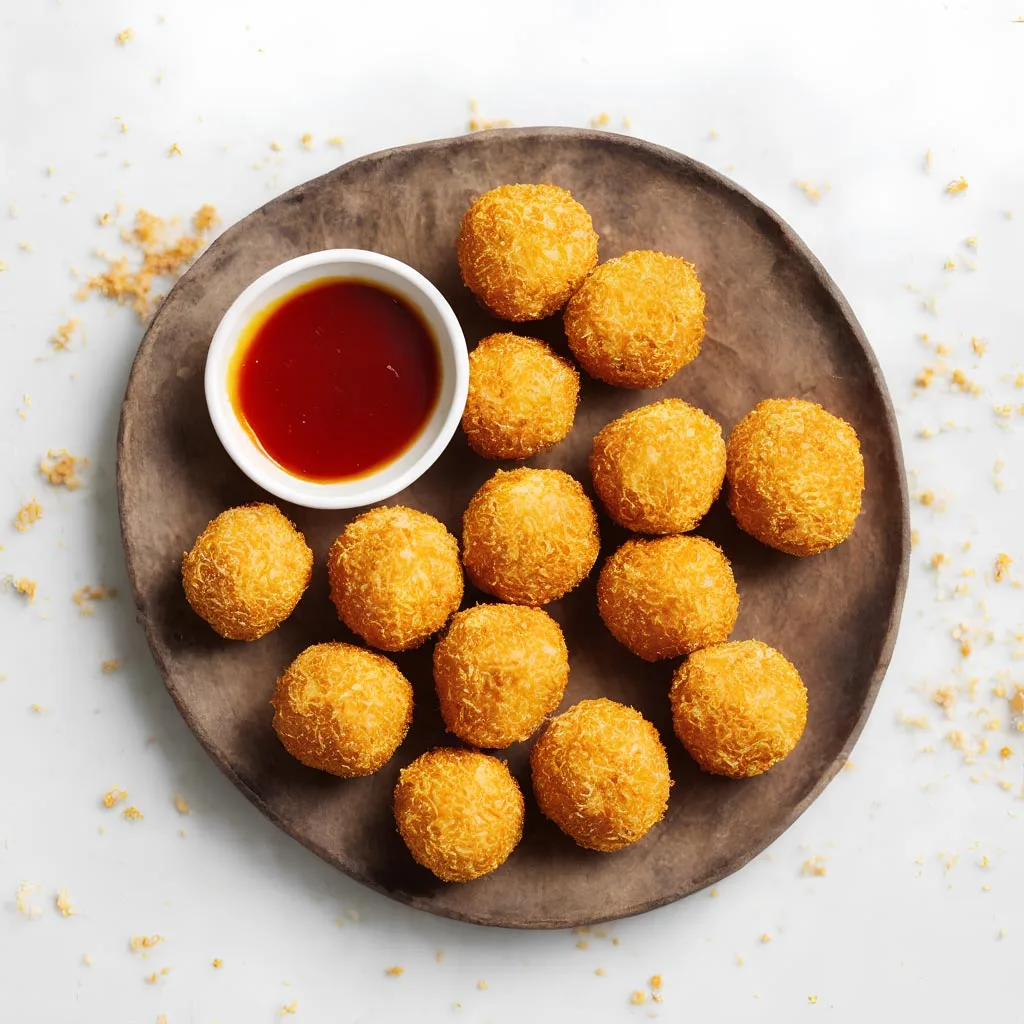
Who can resist the crispy exterior and gooey interior of delicious cheese balls? This simple yet delightful snack has a long-standing reputation for being a crowd-pleaser at parties, gatherings, or even as a cozy night-in treat.
Originating from Italy, cheese balls have found their way into kitchens worldwide, each cook adding their own twist to the classic recipe.
Crafting these delectable cheese balls is surprisingly easy, making them a perfect option for beginners looking to impress their guests or simply indulge in a cheesy delight. With just a handful of ingredients and a few simple steps, you can whip up a batch of these golden orbs of cheesy goodness in no time.
Despite its simplicity, the process of creating cheese balls offers ample room for creativity and customization. From the choice of cheese to the seasoning blend, each component contributes to the overall flavor profile, resulting in a snack that is both comforting and addictive.
Expert Tip: Ensure the oil is hot enough before frying the cheese balls to achieve a crispy exterior. Test it by dropping a small piece of breadcrumb into the oil; if it sizzles and rises to the surface, the oil is ready.
Mozzarella Cheese: The heart of the cheese balls is, unsurprisingly, cheese. I opt for Mozzarella due to its unique combination of taste and texture. Mozzarella melts beautifully, giving the balls their gooey, irresistible interior. Its mild flavour allows the additional spices to shine while adding a creamy, slightly tangy touch.
Plain Flour: Flour is a key ingredient in this recipe as it helps to coat the cheese balls, allowing the eggs and breadcrumbs to adhere better to the surface.
Breadcrumbs: Breadcrumbs form the outermost layer, providing that essential crunch to contrast the melty cheese. They also help to seal in the cheese, preventing it from leaking out during the frying process.
Eggs: Eggs act as the glue between the flour and the breadcrumbs. They create a moisture barrier that helps the breadcrumbs stick, ensuring an even coating that will get perfectly crispy when fried. If you’re looking for a vegan alternative, a mixture of flaxseed and water can serve a similar purpose.
Spices and herbs: These seasonings infuse the cheese with flavour. Dried oregano adds an earthy, slightly sweet and bitter taste, while garlic powder brings a savoury depth.
Vegetable Oil: The frying medium of choice, vegetable oil, has a high smoke point, which makes it suitable for deep frying. It also has a neutral flavour that doesn’t interfere with the taste of the cheese balls. Alternatives include canola or peanut oil.
Expert Tip: Don’t overcrowd the pan when frying the cheese balls. Fry them in small batches to prevent them from sticking together and ensure even cooking.
Expert Tip: For extra flavor, consider adding grated Parmesan cheese or finely chopped herbs to the breadcrumb coating mixture before rolling the cheese balls.
To prevent the cheese from leaking out during frying, make sure to refrigerate the cheese balls for at least 10 minutes before coating them. This helps firm up the cheese, reducing the likelihood of it melting too quickly in the hot oil.
Yes, feel free to experiment with different types of cheese to suit your taste preferences. Cheddar, Monterey Jack, or even a blend of cheeses can work well in this recipe, offering unique flavor profiles and textures.
While frying yields the crispiest results, you can bake the cheese balls in a preheated oven at 375°F (190°C) for 15-20 minutes, or until golden brown. However, keep in mind that the texture may be slightly different compared to fried cheese balls.
If you have any leftovers, store them in an airtight container in the refrigerator for up to 2-3 days. To reheat, simply place them in a preheated oven until warmed through and crispy.
Yes, you can freeze the cheese balls after shaping them but before coating them. Place the shaped cheese balls on a baking sheet lined with parchment paper and freeze until firm. Once frozen, transfer them to a freezer-safe bag or container and store for up to 1 month. When ready to use, thaw them in the refrigerator overnight before coating and frying as directed.
Here are some more recipes for you to enjoy! If you my recipes don’t forget to rate and leave a comment.
If you have any recipe suggestions, please do not hesitate to ask me. A great way to stay in contact with me is through Instagram, Facebook, Twitter and YouTube. Don’t forget to tag me @CookwithNabeela in your recipe photos!

Subscribe now to receive my latest recipes directly in your inbox. Stay up-to-date and never miss out!

I love to cook! I want to share with you my favourite, delicious family-friendly recipes. I want to inspire you to create fantastic food for your family every day.
Add your first comment to this post